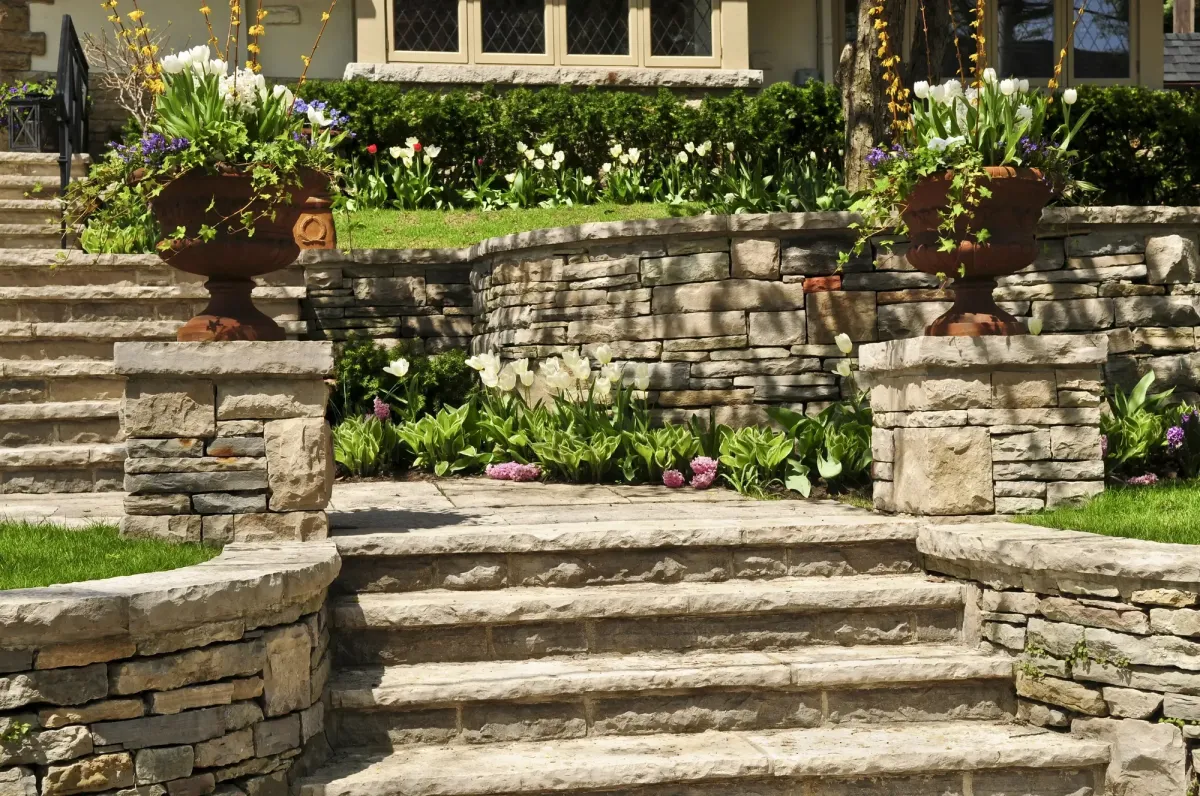
Retaining Wall Drainage Solutions for West Linn OR
Poor drainage behind a retaining wall is the leading cause of premature wall failure in West Linn. When water saturates the soil on a hillside, it creates hydrostatic pressure that pushes outward against the wall face. Over time, even a well-built wall can crack, lean, or collapse without proper drainage engineering. The good news is that drainage solutions are straightforward when built into the design from the start. This guide walks you through the key steps to engineer effective drainage into any retaining wall project on West Linn's steep, clay-heavy slopes.
Step 1: Assess the Slope and Soil Conditions Before You Build
West Linn sits on terrain with significant elevation changes and soils that contain a high percentage of clay. Clay holds water rather than draining it, which makes hillside walls here more vulnerable to hydrostatic pressure than walls built in sandy or loamy soils. Before any construction begins, walk the slope after a heavy rain and observe where water pools or runs. Note any seeps or saturated zones. This assessment determines how aggressive your drainage design needs to be. On steeper grades or where clay is dense, you will need more drainage capacity than a minimal approach provides. Skipping this step leads to undersized drainage systems that fail during Oregon's wet winters. If you are still deciding on wall type, height, or whether your project needs a permit, start with our complete retaining wall guide for West Linn hillside properties. For more on how clay soil affects wall performance, read about clay soil and hillside retaining walls.
Step 2: Install a Gravel Backfill Zone Directly Behind the Wall
The single most important drainage element is a clean gravel backfill zone immediately behind the wall. This zone, typically 12 to 18 inches wide, should be filled with crushed drain rock or washed gravel rather than native soil. Gravel does not retain water the way clay does. Instead, it allows water to move freely downward toward the drainage pipe at the base of the wall. Without this gravel zone, even a correctly installed drain pipe will be ineffective because water cannot reach it through compacted clay. On projects throughout West Linn's West A Street corridor and lakeside neighborhoods, contractors often find that native clay was used as backfill on older walls, which is a primary reason those walls show signs of movement or leaning after several rainy seasons.
Step 3: Run a Perforated Drain Pipe at the Wall's Base
A perforated drain pipe, commonly called a French drain, runs along the base of the gravel backfill zone and carries accumulated water away from the wall. The pipe should be wrapped in filter fabric to prevent fine soil particles from clogging the perforations over time. Slope the pipe at a minimum of one percent grade toward a daylight outlet, a storm drain connection, or a dry well located away from the wall. In West Linn, where rainfall from October through April is consistent and heavy, this pipe does most of the drainage work during the months when hydrostatic pressure is highest. Size the pipe appropriately for the catchment area above the wall. A four-inch pipe is adequate for most residential walls, but larger catchment zones may require six-inch pipe.
Step 4: Add Weep Holes or Drainage Outlets Through the Wall Face
Even with a gravel backfill zone and a base drain pipe, some water will build up faster than the pipe can remove it during intense rain events. Weep holes spaced every four to six feet along the wall face provide a pressure relief path. For concrete block walls, this means leaving gaps in the lower courses. For poured concrete walls, plastic sleeves are cast through the wall at regular intervals. These openings allow any water that temporarily exceeds the drain pipe capacity to exit through the wall face rather than build pressure. Weep holes are a backup system, not a replacement for the gravel and pipe installation. If you rely on weep holes alone, the water exits the wall but the saturated soil behind it still generates pressure.
Step 5: Manage Surface Water Above the Wall
A complete drainage system addresses not just the water already in the ground but also the water falling on the surface above the wall. Grading the area behind the top of the wall so that surface water drains away from the wall rather than toward it reduces the volume of water that enters the soil. Where grading alone is insufficient, a surface swale or channel drain installed at the top of the wall captures runoff before it saturates the backfill zone. In neighborhoods like Robinwood and Sunset, where lots slope consistently toward the rear or sides, surface water management above the wall is often as important as the subsurface drainage system below it.
Step 6: Protect the System with Filter Fabric
Filter fabric, also called geotextile, separates the gravel backfill from the native clay soil on the uphill side. Without it, clay particles migrate into the gravel over time, reducing drainage capacity and eventually clogging the drain pipe. Wrap the entire gravel zone with filter fabric, tucking it at the top before placing native soil or topsoil over the installation. This one detail extends the service life of the drainage system significantly. A wall drainage system that fails due to clogging five to ten years after installation is just as problematic as one that was never installed. For expert installation of drainage-integrated walls, a professional Retaining Wall contractor familiar with local soil and rainfall conditions will specify filter fabric as a standard component, not an optional upgrade.
Step 7: Inspect and Maintain the System After Installation
Drainage systems require periodic inspection, particularly after major storm events. Check that weep holes are clear and flowing during heavy rain. Confirm that the drain pipe outlet is not blocked by debris or sediment. If you notice standing water behind or beside the wall after rain that was not present when the wall was new, that is a sign the drainage system needs attention. West Linn's rainy season provides natural test conditions every year. Catching a drainage issue early, before it contributes to wall movement, is far less expensive than repairing or replacing a failed wall.
